
Best Nikon Camera Settings for Stunning Portrait Photography – Step-by-Step Beginner Guide
Portrait photography is about more than simply pointing a camera at someone and pressing the shutter button. The right Nikon camera settings can make the difference between a flat image and a portrait that feels professional, sharp, and full of character. Whether you’re using a Nikon DSLR or a Nikon Z-series mirrorless camera, understanding how each setting affects your final image will help you create portraits that stand out.
Why Camera Settings Matter in Portrait Photography
Many beginners focus heavily on lenses and editing software while overlooking camera settings. Even the best portrait lens cannot compensate for incorrect exposure, poor focus settings, or an unsuitable shutter speed.
Portrait photography requires a balance between sharp facial features, pleasing skin tones, and background separation. Getting these elements right starts with the camera setup.
Step 1: Use Aperture Priority Mode or Manual Mode
For beginners, Aperture Priority Mode (A or A on Nikon cameras) is an excellent starting point.
This mode allows you to control the aperture while the camera automatically selects an appropriate shutter speed.
Recommended aperture settings:
- Single-person portraits: f/1.8 to f/2.8
- Two-person portraits: f/2.8 to f/4
- Group portraits: f/5.6 to f/8
A wider aperture creates a softer background, helping the subject stand out naturally.
Step 2: Select the Right ISO Setting
ISO determines how sensitive the camera sensor is to light.
For the cleanest image quality:
- Outdoor daylight: ISO 100–200
- Cloudy conditions: ISO 200–400
- Indoor natural light: ISO 400–800
- Low-light situations: ISO 800–1600
Many modern Nikon cameras handle higher ISO values well, but keeping ISO as low as possible helps maintain detail and reduce noise.
Step 3: Set an Appropriate Shutter Speed
Even when your subject appears still, slight movements can create blur.
A practical guideline is:
- Stationary portraits: 1/125 sec
- Children and active subjects: 1/250 sec or faster
- Outdoor sessions with movement: 1/500 sec
Fast shutter speeds ensure sharp eyes and crisp facial details.
Step 4: Use Single-Point Autofocus
One of the most common portrait photography mistakes is allowing the camera to choose focus points automatically.
Instead:
- Select Single-Point AF.
- Position the focus point directly over the subject’s eye.
- Half-press the shutter to lock focus.
- Recompose if needed.
Sharp eyes instantly make portraits appear more professional.
Step 5: Enable Eye Detection AF (If Available)
Modern Nikon Z-series cameras include Eye Detection Autofocus.
This feature automatically tracks and focuses on the subject’s eye, especially useful when shooting:
- Portrait sessions
- Weddings
- Family photography
- Lifestyle shoots
Eye Detection AF can dramatically improve focus accuracy compared to traditional autofocus methods.
Step 6: Choose the Best White Balance
Accurate skin tones are essential in portrait photography.
Recommended settings:
- Sunny Day: Daylight
- Cloudy Weather: Cloudy
- Indoor Window Light: Auto White Balance
- Studio Flash: Flash Preset
If skin tones appear too cool or too warm, adjusting white balance often solves the problem faster than editing later.
Step 7: Use Continuous Shooting for Natural Expressions
People blink, move, and change expressions quickly.
Switching to Continuous Low-Speed Burst Mode allows you to capture several frames in succession.
This increases the likelihood of capturing:
- Natural smiles
- Genuine reactions
- Sharp images without blinking
Professional portrait photographers often use burst shooting even during relaxed portrait sessions.
Step 8: Meter for the Face
The face should be the primary exposure reference.
Center-weighted metering works well for most portrait situations because it gives greater importance to the subject rather than the background.
When photographing against bright skies or backlit scenes, spot metering can provide more accurate exposure.
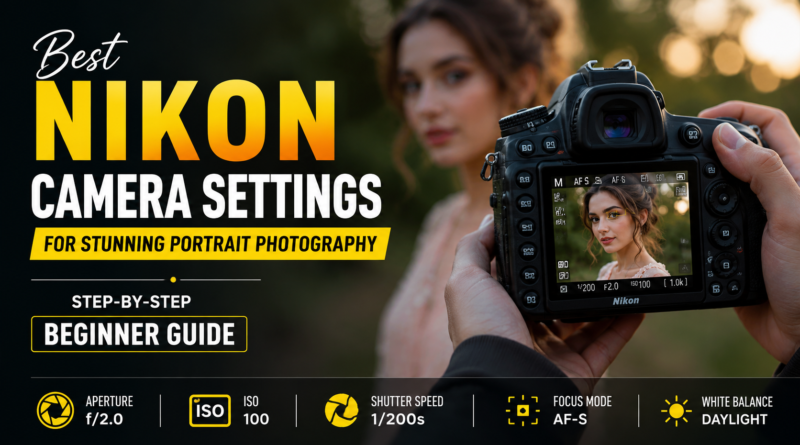
Recommended Nikon Portrait Settings Cheat Sheet
For outdoor portraits:
- Mode: Aperture Priority
- Aperture: f/2.0
- ISO: 100
- Shutter Speed: Minimum 1/250 sec
- Focus Mode: AF-S
- White Balance: Daylight
For indoor portraits:
- Mode: Manual
- Aperture: f/2.8
- ISO: 400–800
- Shutter Speed: 1/160 sec
- Focus Mode: Single Point AF
- White Balance: Auto
Best Nikon Lenses for Portrait Photography
Camera settings are important, but pairing them with the right lens produces even better results.
Popular Nikon portrait lenses include:
- Nikon 50mm f/1.8
- Nikon 85mm f/1.8
- Nikon Z 85mm f/1.8 S
- Nikon 70-200mm f/2.8
These lenses provide excellent sharpness and attractive background blur.
Common Portrait Photography Mistakes to Avoid
Avoid these beginner errors:
- Using apertures that are too wide for group photos
- Relying entirely on Auto Mode
- Focusing on the nose instead of the eyes
- Shooting with excessively slow shutter speeds
- Ignoring background distractions
- Using high ISO values unnecessarily
Correcting these simple mistakes often improves portrait quality more than expensive gear upgrades.
Don’t Ignore Post-Processing
Even when your camera settings are perfect, portrait photography rarely ends when you press the shutter button. Professional photographers typically spend time refining exposure, correcting skin tones, removing distractions, and enhancing overall image quality during post-processing.
For photographers who handle large volumes of portraits, weddings, or commercial shoots, outsourcing editing can be a practical solution. Professional photo retouching and editing services help maintain consistency while saving valuable time that can be spent on client work and shooting sessions. Services such as Outsource Photo Editing Services can assist photographers with tasks including color correction, skin retouching, background cleanup, clipping paths, and advanced image enhancement.
Final Thoughts
Learning portrait photography with a Nikon camera doesn’t require years of experience. Start by mastering aperture, shutter speed, ISO, and autofocus settings. Once these fundamentals become second nature, you’ll spend less time adjusting camera controls and more time connecting with your subject.
The most memorable portraits are rarely created by camera equipment alone. They come from understanding light, choosing the right settings, and capturing genuine moments. Practice regularly, experiment with different lighting conditions, and you’ll quickly see noticeable improvements in your portrait photography.